
My card material just after it had been lasercut. I drew up all the individual pieces on autocad. This shows how I have incorporated the lasercutting itself into the structure of my design.

I left tabs on all the pieces, in order to ensure they didnt move out of place during lasercutting. Every piece has a 5mm incision every 2cm, however this is halved for the smaller pieces.
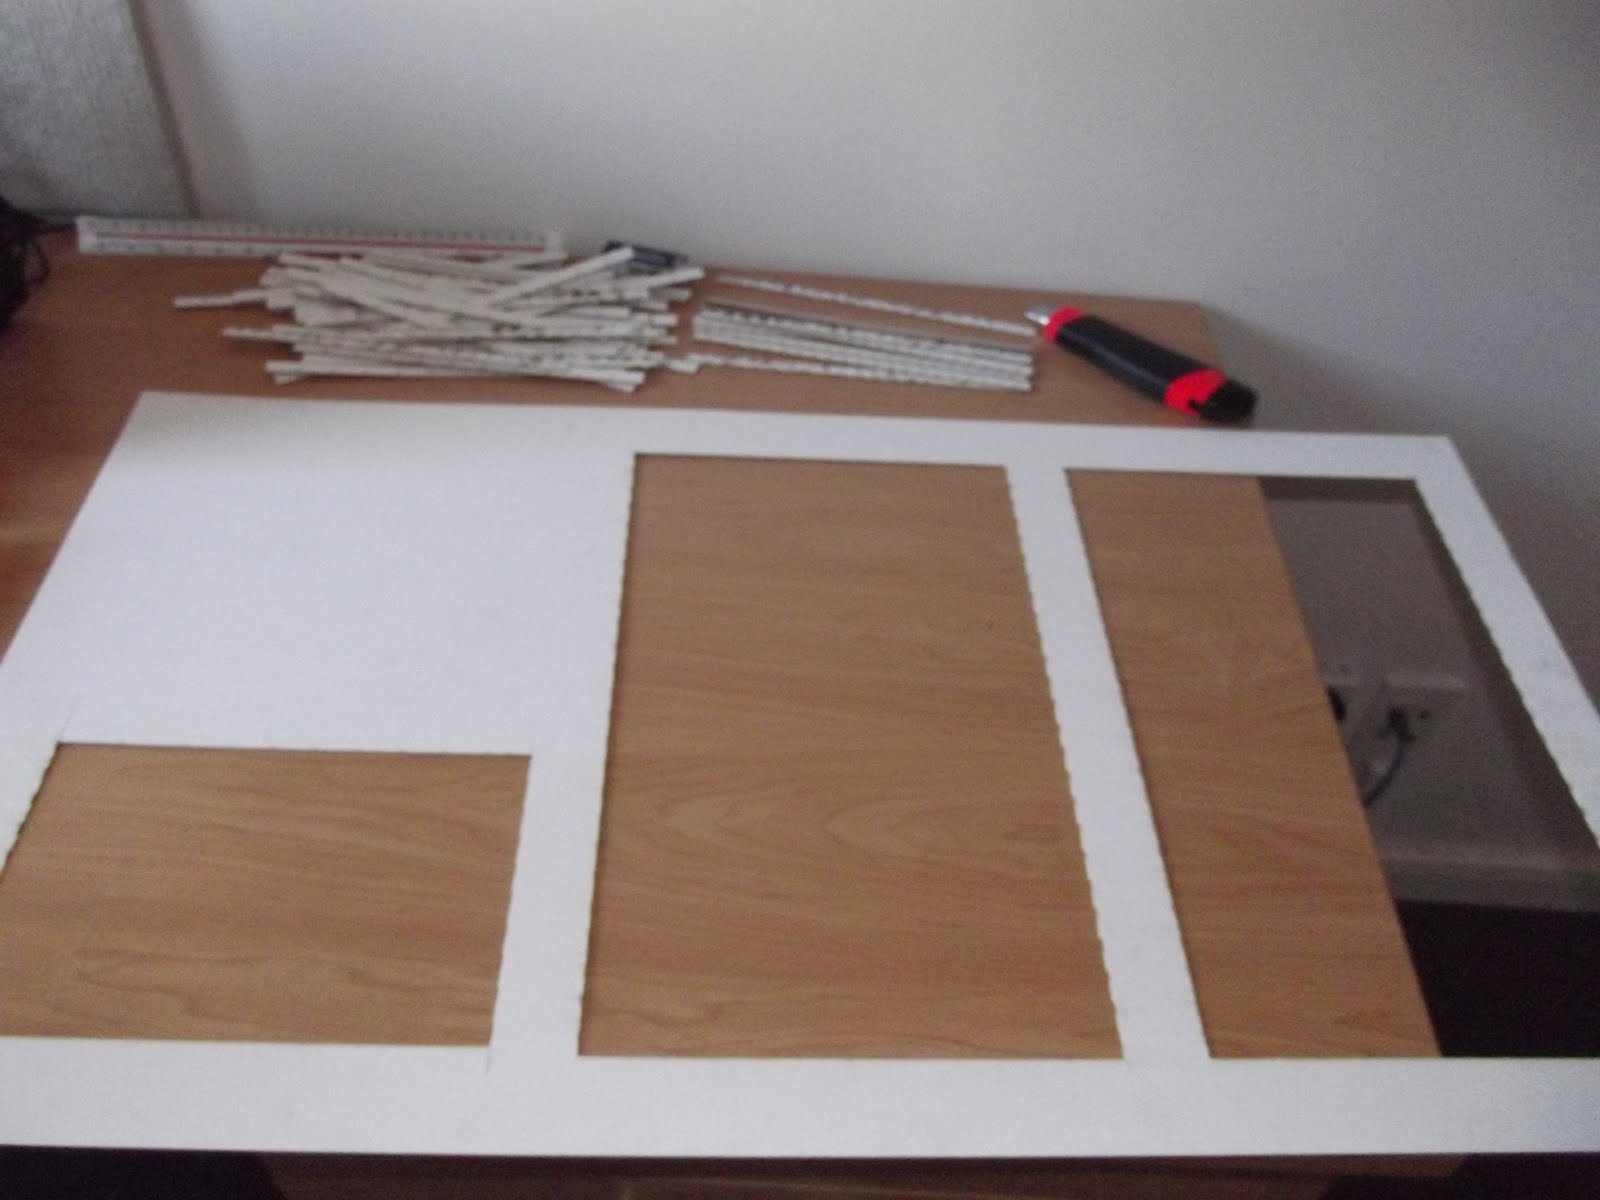
Overall there were sixty strips of card, including 10 smaller versions, used to make up my design.

The technique I used involved linking the incisions on the pieces, together with another perpendicular piece, to make a slightly angled lattice. As each piece was added the overall shape of the lattice curved in two different directions, displaying the form of the segment shown below.

First individual segment made...

Hours of work later, I have accomplished five segments and now starting to complete the smaller versions

The relationship between normal and smaller segments is being shown on the left. At the moment the structure is only being temporarily held together by tape, just so I can make sure everything is correct and in the right place.

Front view of my design showing off its attractive twisting asthetics. I really liked the idea of the end of the design morphing back into the ground, to fully portray its fluidity.

Testing out the durability of pins as joints. In the end I did choose to use them because they held each segment together quite firmly but also allowed the twisting asthetic to be dismantlable.

Pin joint connection in action....

After experimentation with different options for the floor, prespex was chosen because of its reflective and transparent qualities. In real life it would be glass so people can see through it, allowing the shape of the structure to not be interupted in any way.

Pin joints were also chosen to be used on the floor to avoid a change in material. Looks very sharp having all the joints look the same. Doesn't in any way steal attention from the structure itself.

Full length perspex floor showing all the joints as well as its reflective capabilities...

The floor does have ability to be folded, when packing up the stall...

Front view of design complete with floor...

I decided to burn the whole structure to give it a "scorched" effect. I wanted to take my market stall a step further by allowing people inside to feel captured or trapped by the architecture. At the same time the design will appeal to all of their senses.

Alot of fun with lighter...

and time......

being careful not to catch fire to the whole thing....

This process took quite alot of time....

but worth it... Final design with "scorching" effect complete!!

Side View..

Interior...

More Interior.... perspex floor is very reflective
No comments:
Post a Comment